A Review Of Dehancer Film Photo Plugin Presets
The film stock is only the beginning, as you can completely change the look of the film preset by adjusting any of the other numerous options. This leads to a near endless number combinations to experiment with.


Decaf Journal is reader-supported. When you buy links through our site, we may earn an affiliate commission.
Dehancer was kind enough to offer 10% off for our readers, and you can use the following promo code at checkout: DECAFJOURNAL
We're going on two decades now that digital cameras have surpassed analog film on a technical level. Resolution, sharpness, and speed have never been easier to acquire. With a learning curve that's essentially become negligible to what it once was in order to capture a perfectly exposed image, it's interesting to see that a significant number of passionate photographers still try to emulate the look of analog photography with the use of film presets in post production.
I'm no stranger to using great presets myself, but even with the best of them there's always something somewhat intangible that's missing. It's still not 100% convincing to the trained eye.
I've pondered this for some time now, believe it or not. And I've come to the conclusion that the "look" of film is actually far more involved than simply color matching a film stock to a digital file. While it's a good start and certainly not easy to achieve, it's only one part of the process. It took me a while to nail it down, but this disconnect is what has often lead to a lack of satisfaction within me whenever I've used film preset tools.
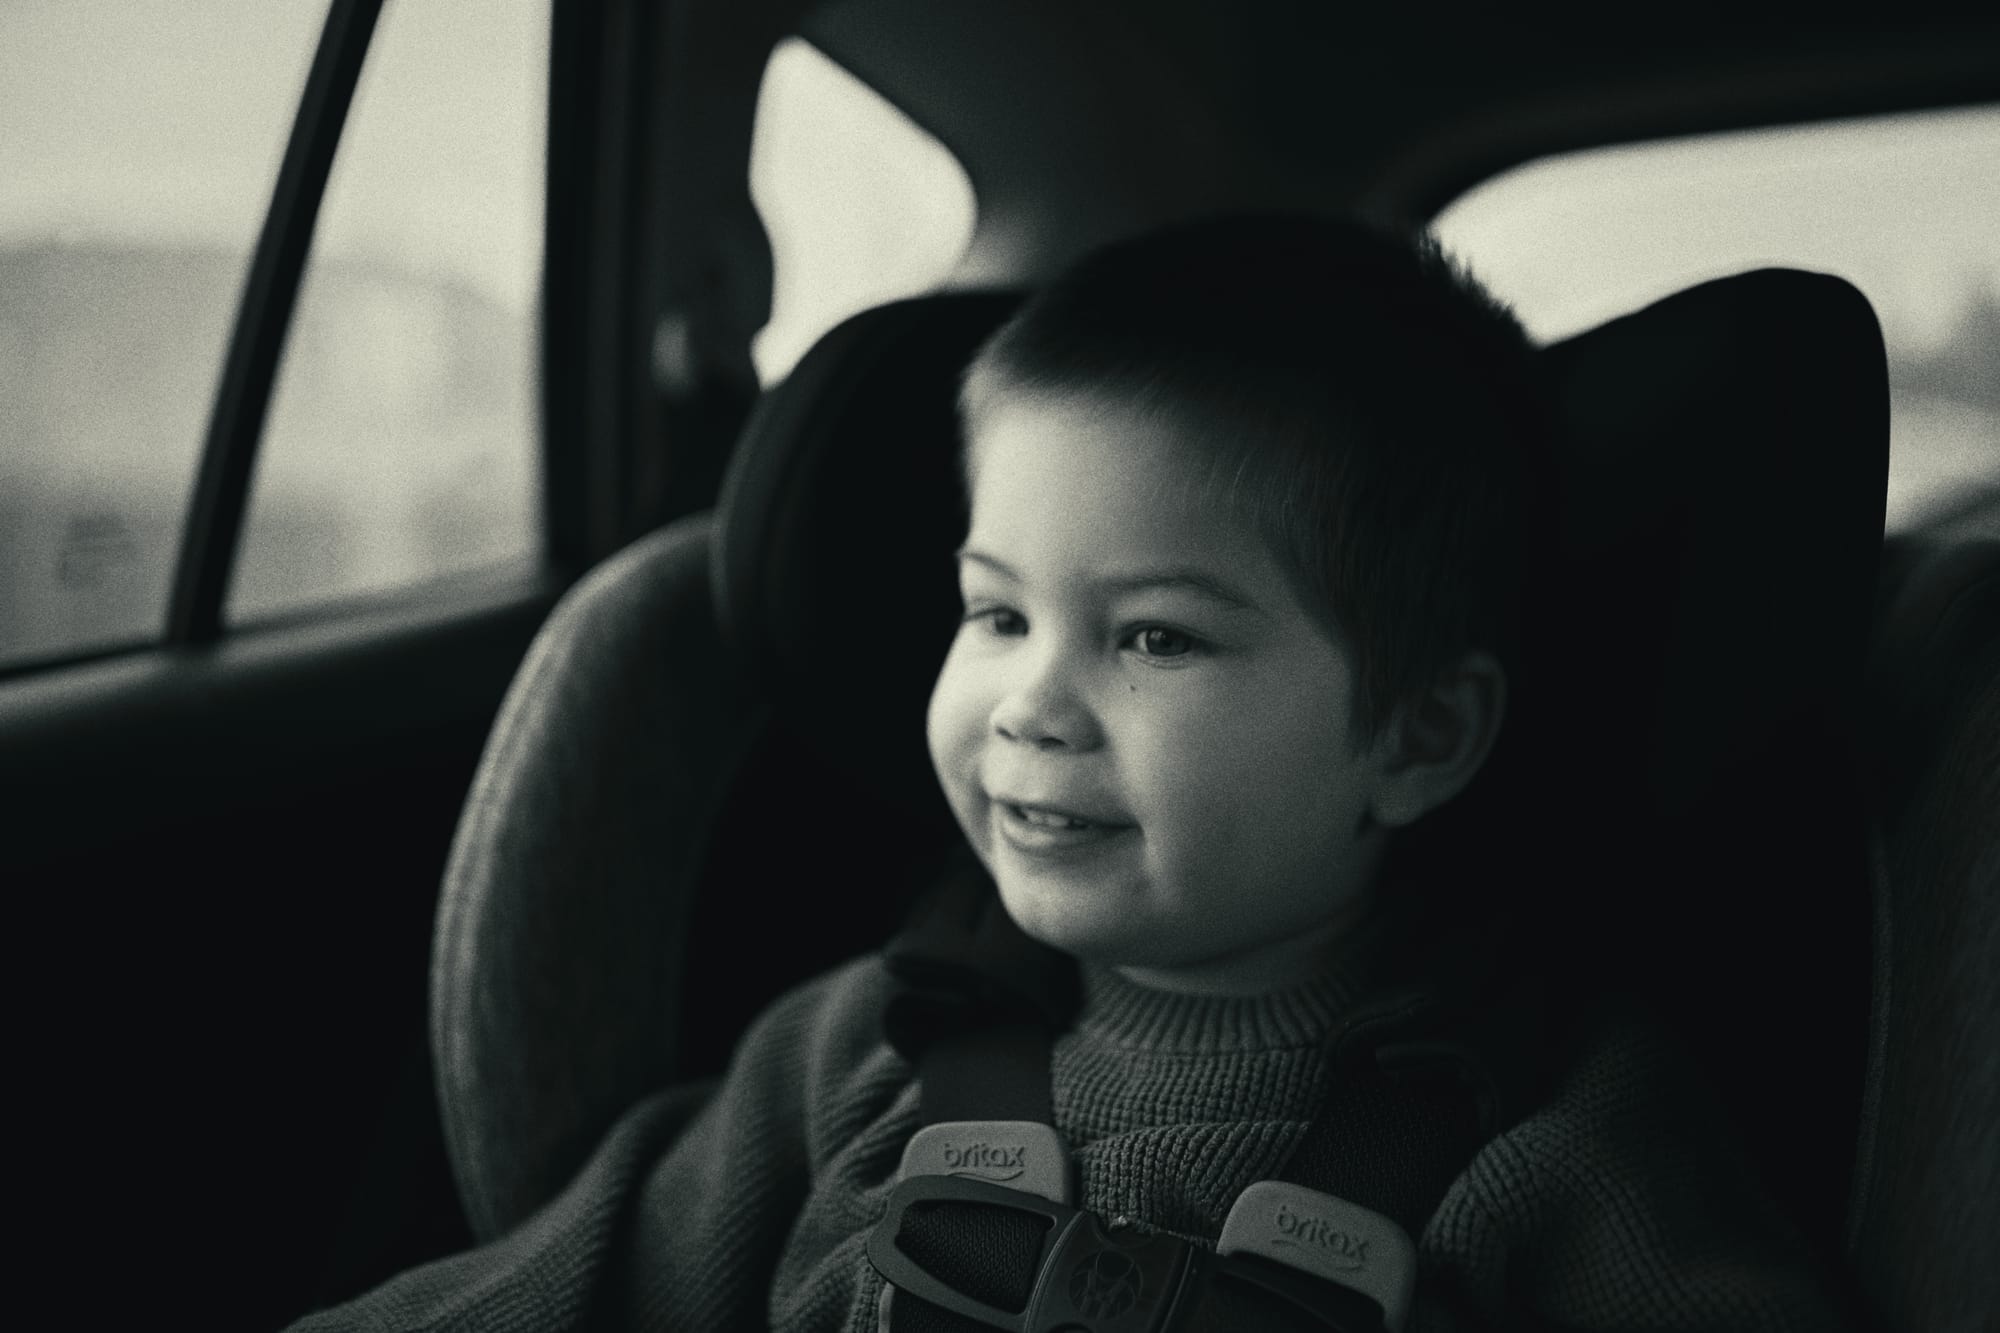
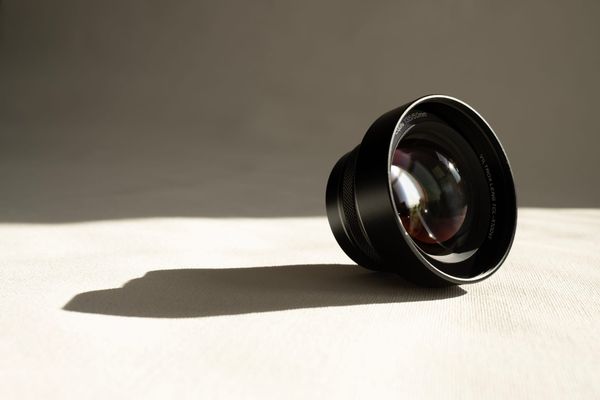
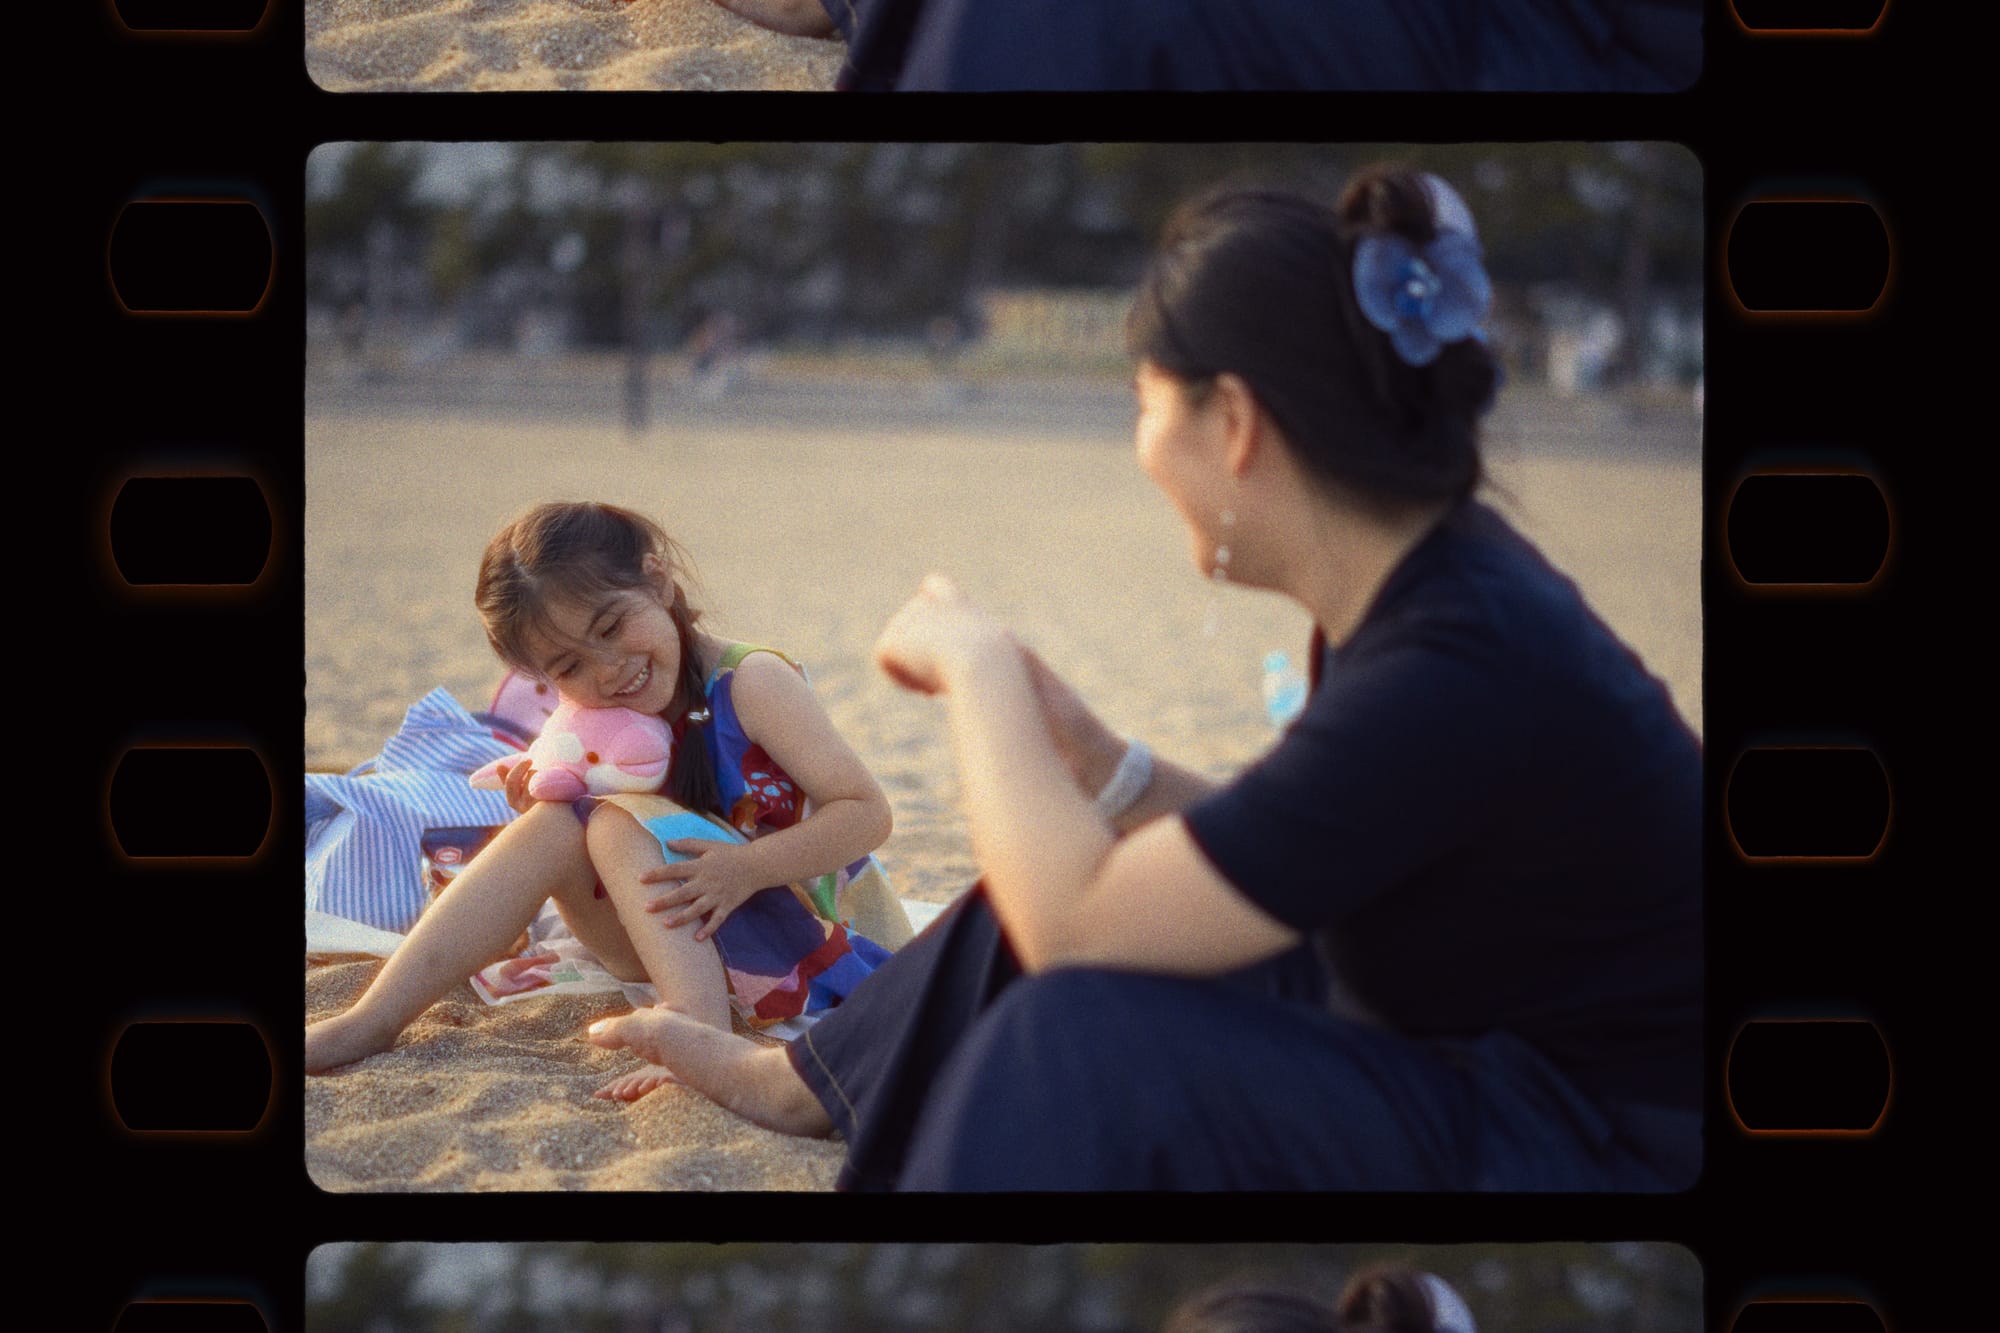
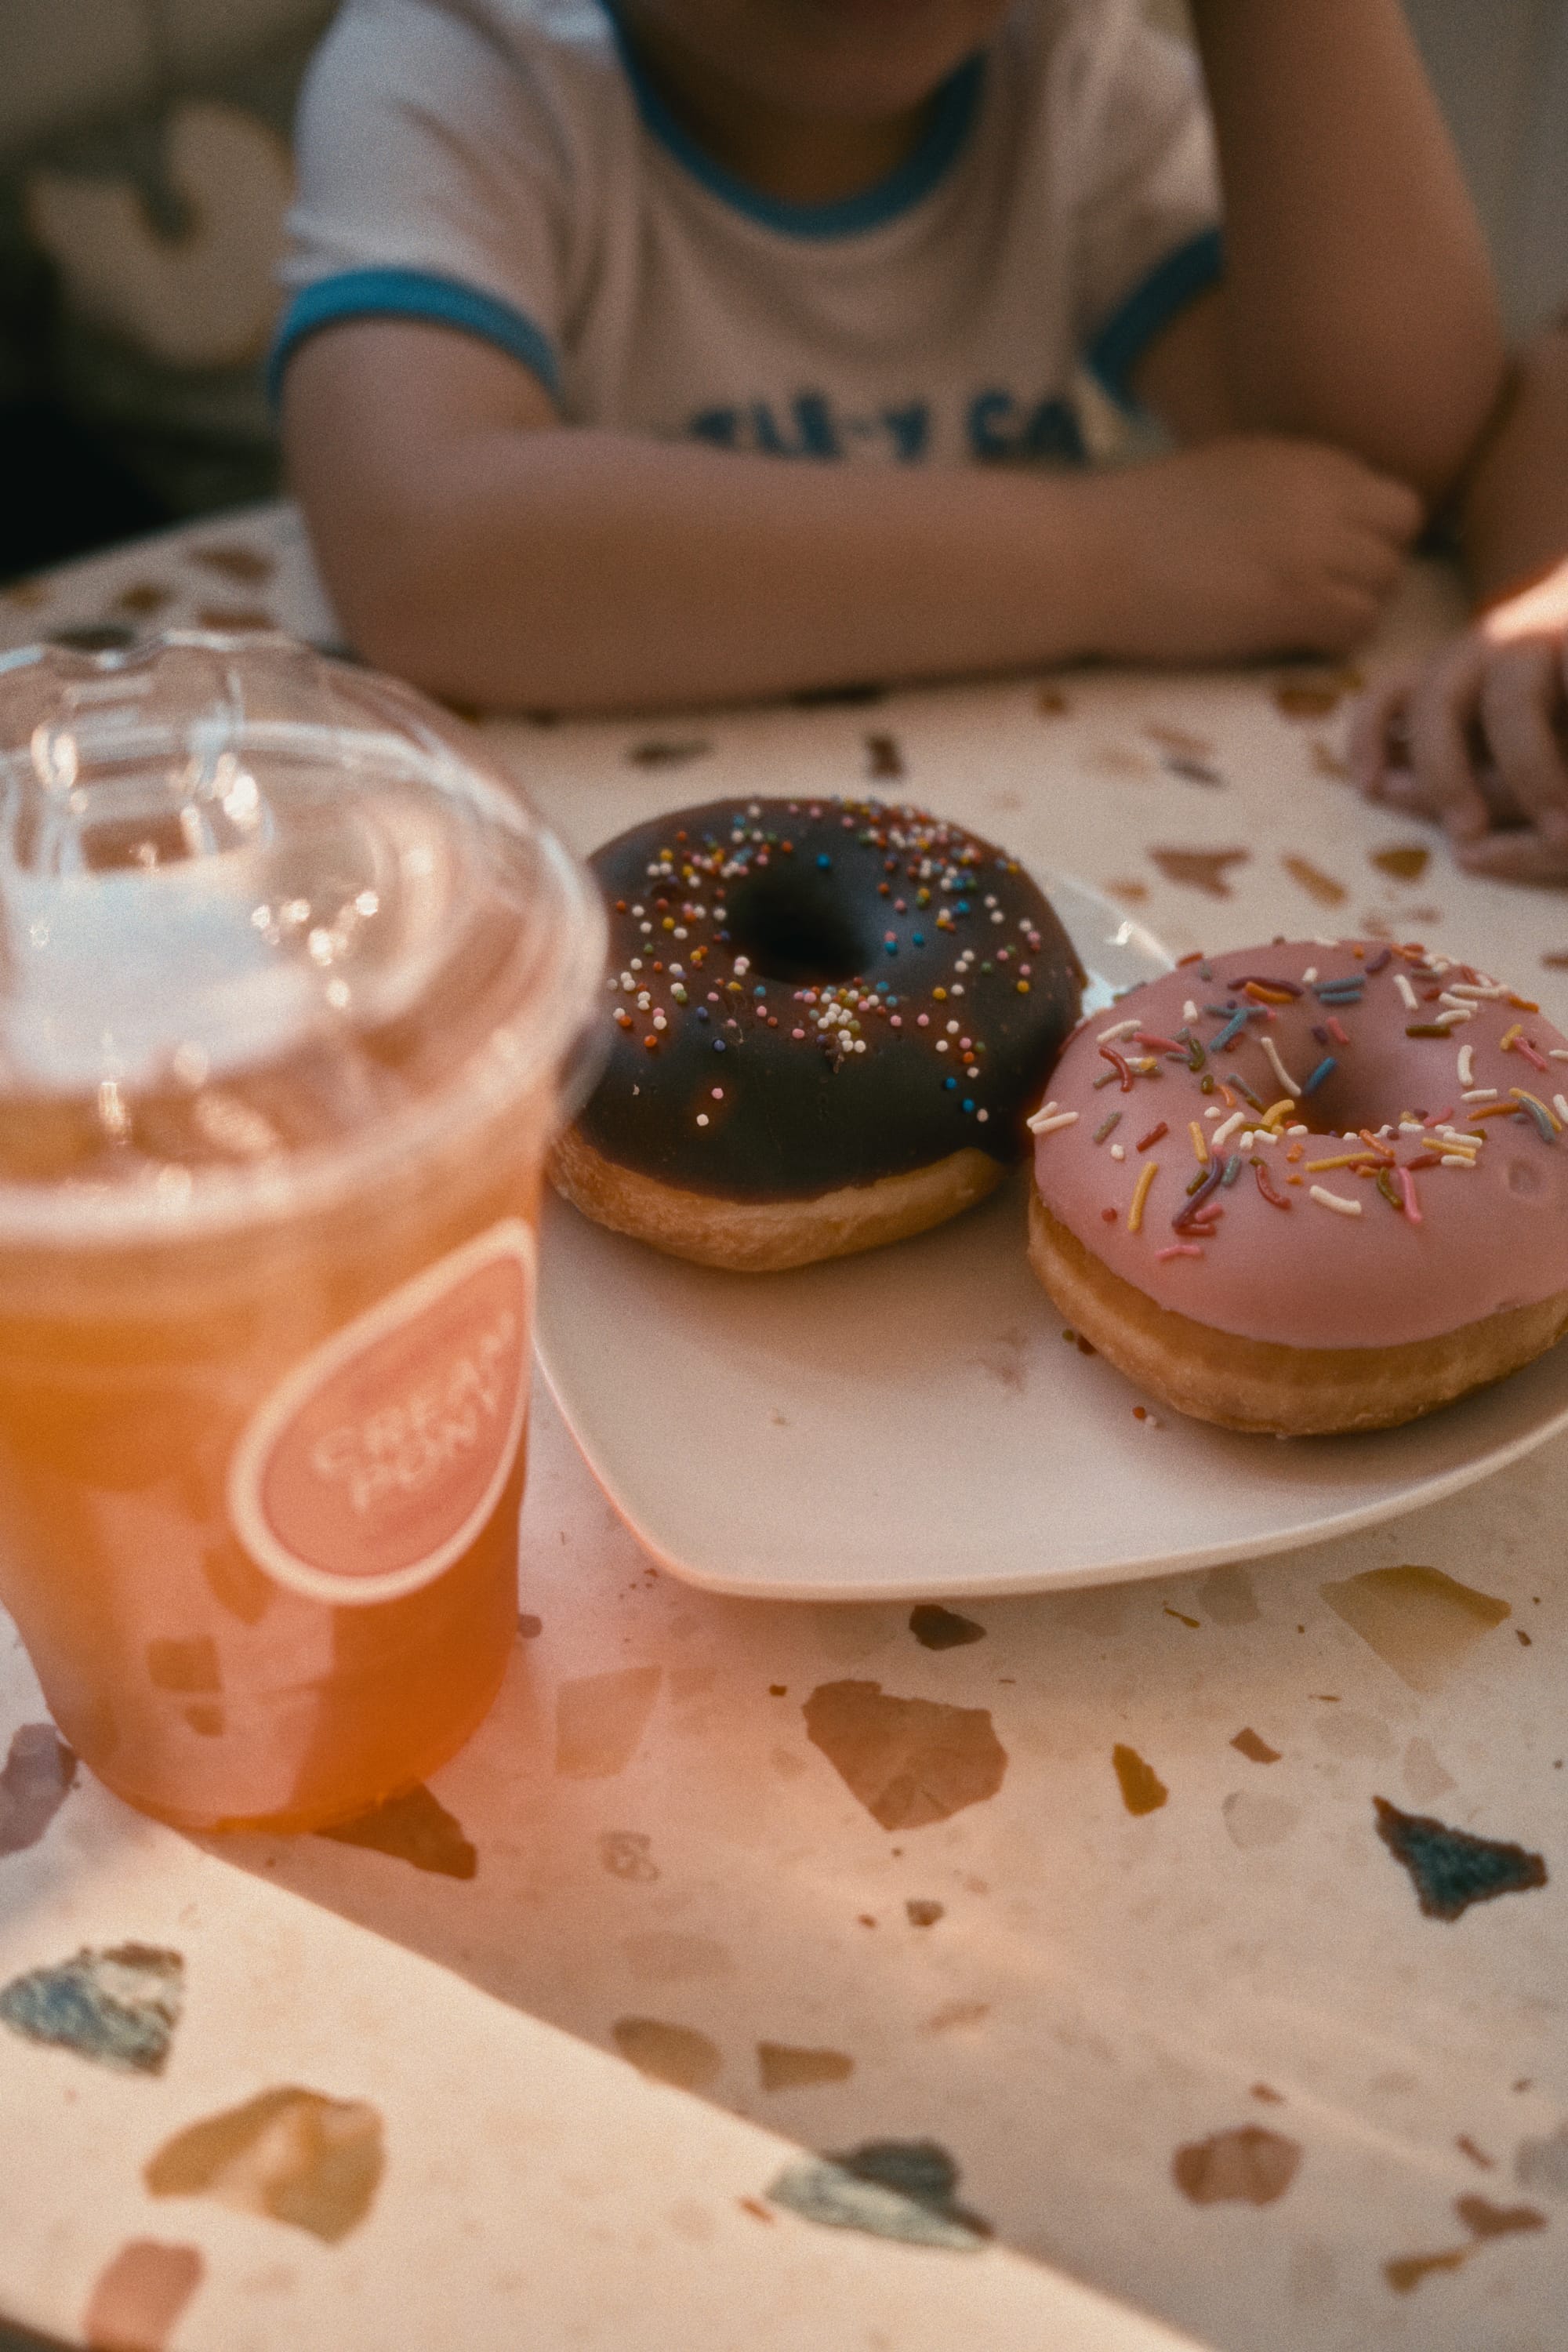
To be truly convincing, you need to add other nuanced subtleties that are inherent to the genuine film process. Things such as realistic film grain, scratches, halation and / or the blooming of highlights each add additional layers that subconsciously reinforce tangibility of the photograph. The combined final texture is what convinces the viewer that what they're looking at is a true to life film scan.

All this to say that I was intrigued to say the least when Dehancer asked me if I'd like to review their Film Photo Plug-in presets. I'd heard of them before, but was happy enough with The Classic Presets (which are excellent in their own right) that I had never given them a second look until now. For the uninitiated, Dehancer is better known in the cinema world for their well regarded Video Plug-ins, and more recently their iOS App.
I'm quite familiar with shooting film and scanning it on my own as I've done it for years in my spare time. This review of their photo software was going to be an interesting exercise to see what, if anything, Dehancer can bring to the table that I haven't already been able to achieve with other tools.
User experience
Dehancer Film Photo Plug-in is compatible with Adobe Photoshop, Adobe Lightroom Classic, Capture One, and Affinity Photo. Personally, I found the installation was quick and straightforward with Capture One. The process of bringing the images from Capture One into Dehancer involves exporting linear tone curve TIFF files which are then edited in the standalone Dehancer application.
Prior to exporting the files to Dehancer, you'll first need to ensure that the exposure and white balance are already to your liking. This workflow is quite a departure from what I'm used to, as most preset offerings from other companies allow you to directly edit RAW files directly in Lightroom, Capture One, etc.
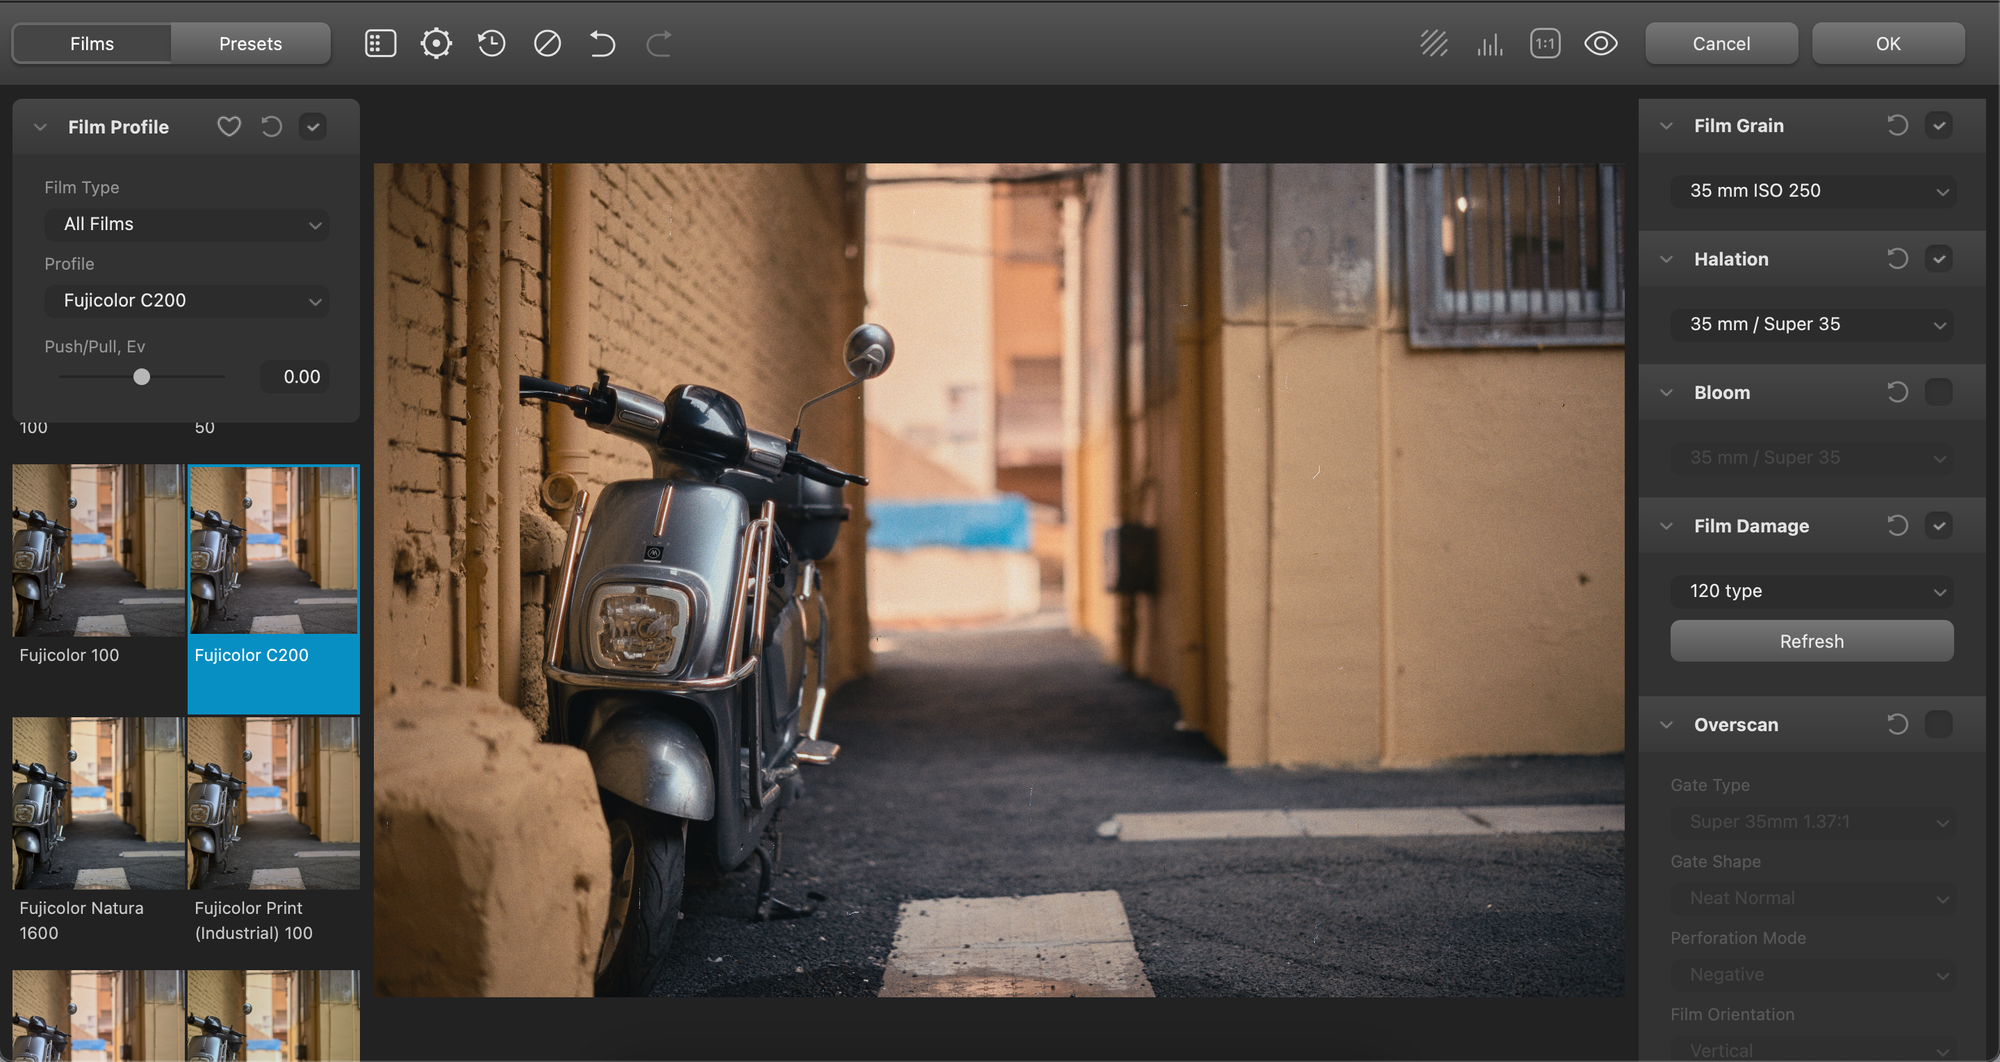
That's not to say that this is a bad thing. It's actually refreshing to have a completely different set of options at your fingertips than what the big image editing players provide. Aside from the 60+ film profiles available, the noteworthy features here include the ability to add film grain, halation, highlight bloom, film damage, print profiles, overscan, and vignette among others.
After a few minutes of testing out settings and poking around in general, I found it fairly easy to navigate through the menu system without much trouble. There is certainly a learning curve, but it isn't overly complex and will feel like second nature after a couple hours of use.
I did encounter a small but irritating bug when using V2.6.0 of the software. Clicking on the Show Or Hide Inspector button causes the preview to stop working, and the only solution is to close and reopen to software in order for it to work properly again. This is a minor issue though, and the Dehancer team seems committed to providing ongoing updates with new features and UI improvements. In the one month that I've been using it so far, they've released two updates that drastically improved the performance of the software.
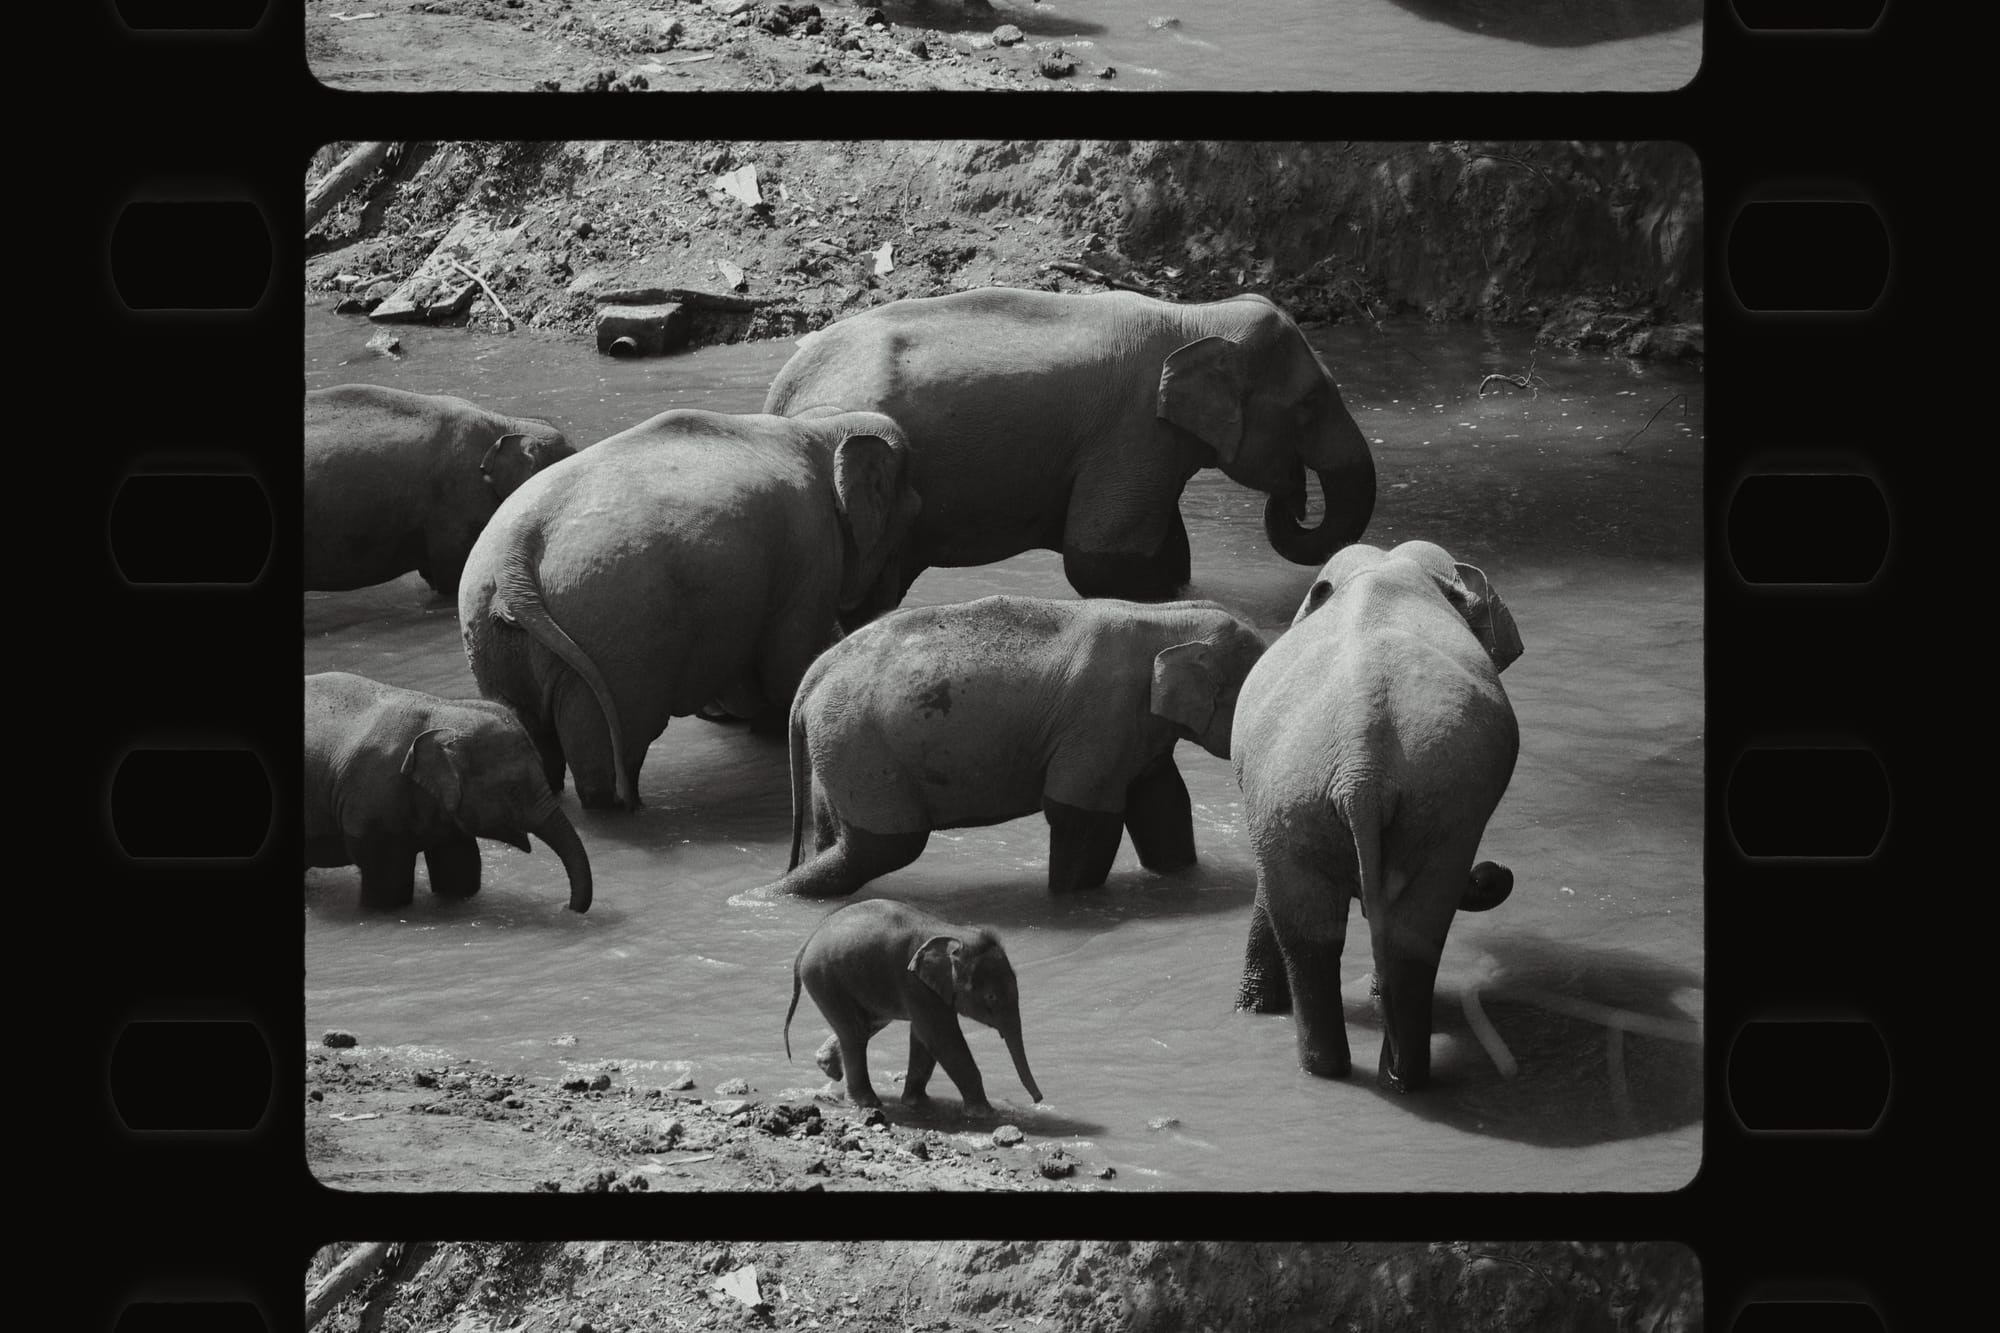
Regarding the workflow once the image is opened up in Dehancer, I would first apply the film profile preset, followed by choosing the paper type which drastically changes the way the film profile affects the image (in a good way). I'd often select the film compression setting as well, which helps reinforce the analog nature of the files by gently reducing highlights in a tasteful manner. Next I would select the film grain and then choose whether or not to add blooming or halation to the highlights. Lastly, I'd add some final touches such as film damage, overscan (which adds film strip perforations to the image) or a small amount of vignetting.

Features
All of these options worked better than expected, but I'm astonished that the halation and bloom modes work as well as they do. With Dehancer it's now trivial to replicate blooming highlights without the need of a physical diffusion filter on the lens.
Additionally, it's just as easy to replicate Cinestill's unmistakable red-orange halation around light sources. I'd always assumed that software couldn't recreate those specifically analog characteristics, but I'm happy to have been proven wrong.
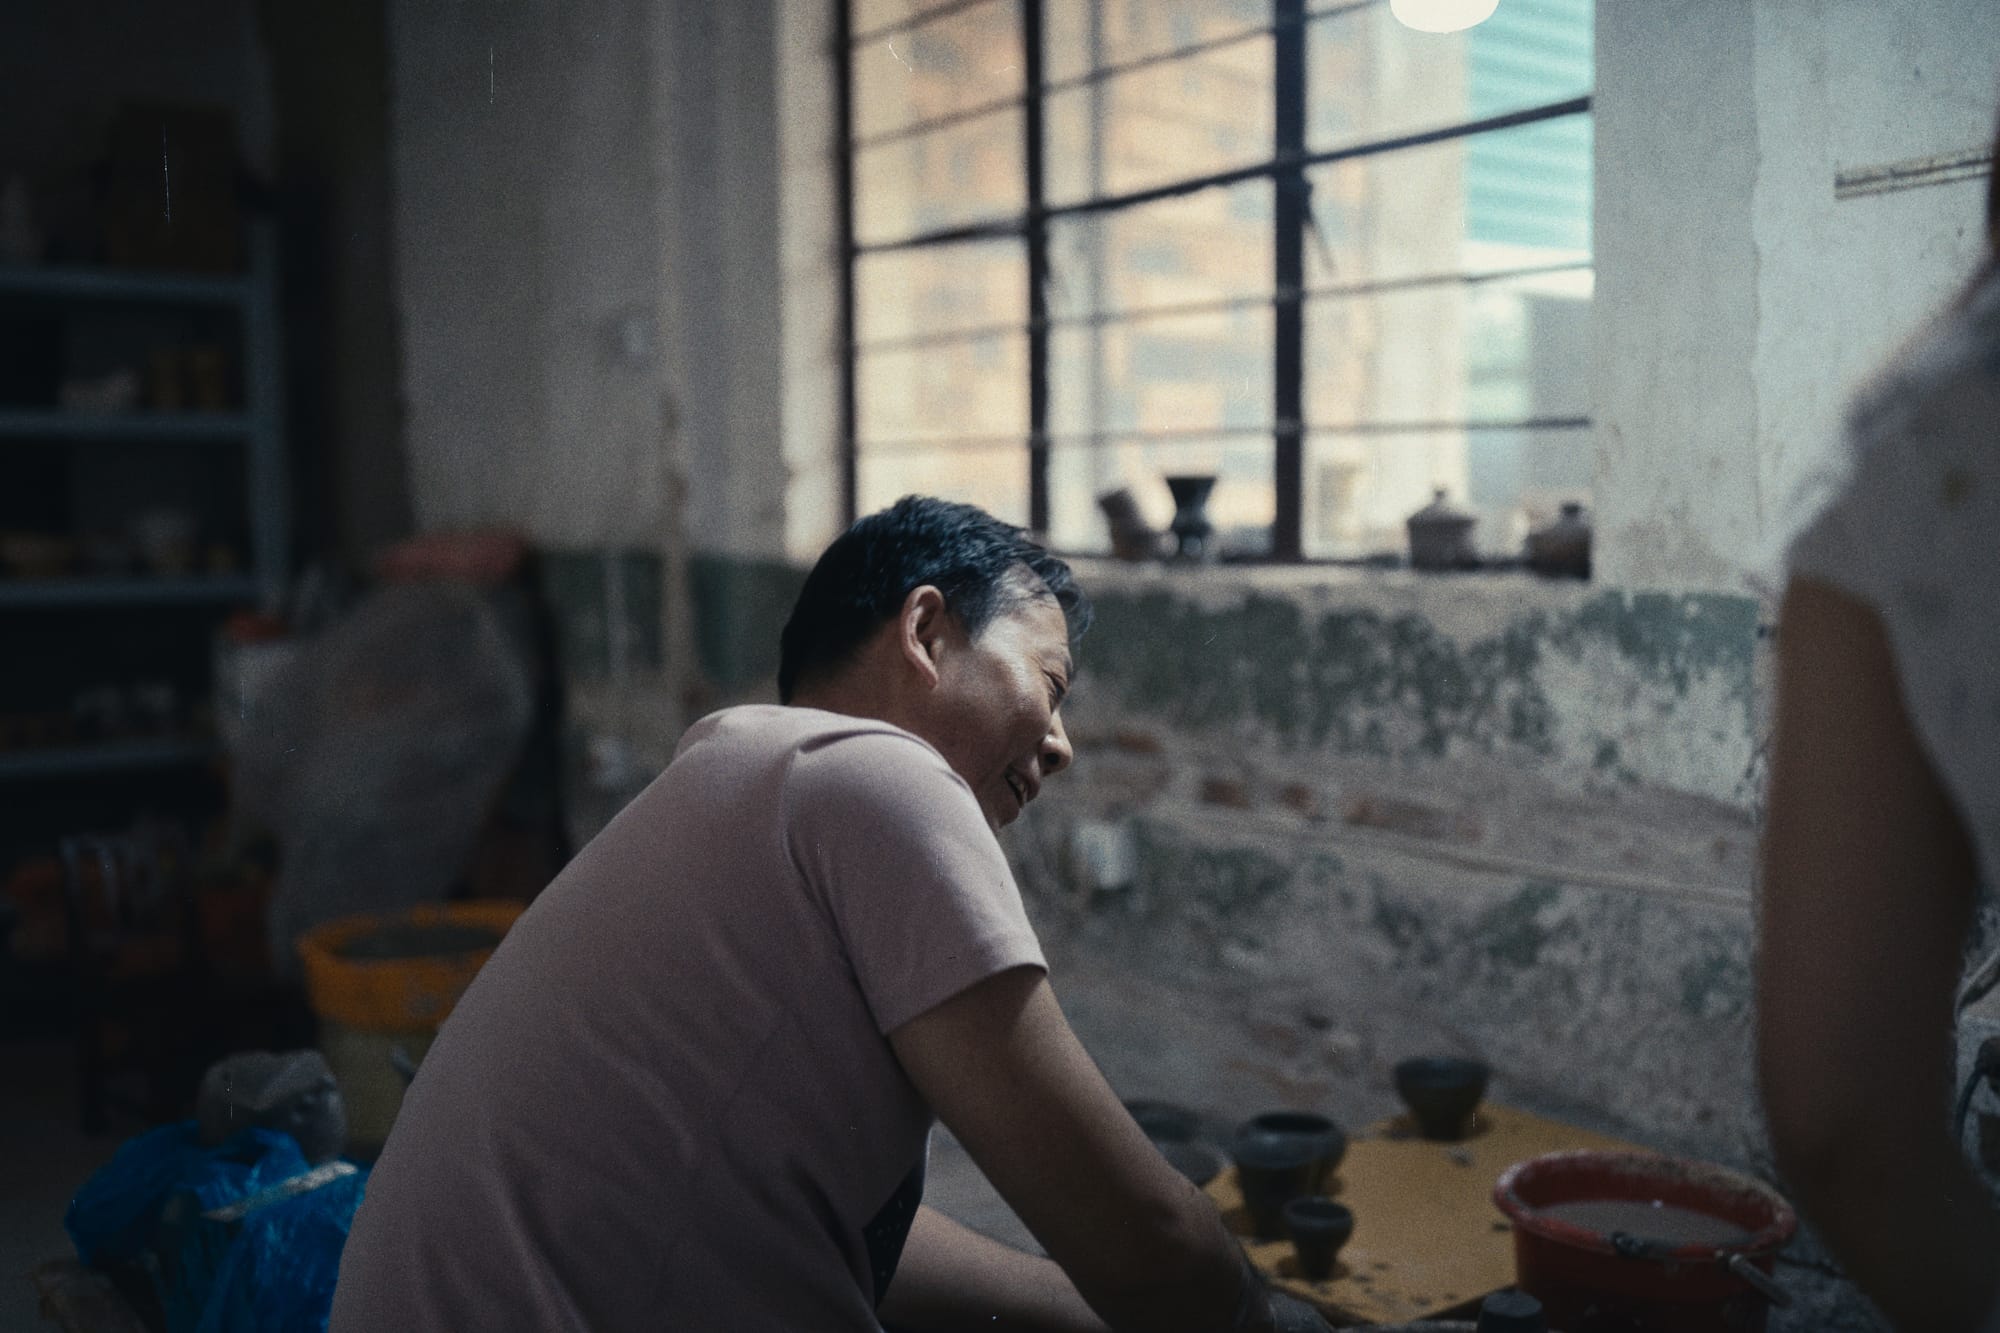
Another great aspect of Dehancer Film Photo Plug-in is just how diverse and exciting their included film profiles are. You'll not only find motion picture film stocks such as Kodak Vision 3 and its respective variants, but also obscure offerings such as Konica and Svema Type-42 that deliver superb results. Even the Cinestill lineup is reproduced accurately.
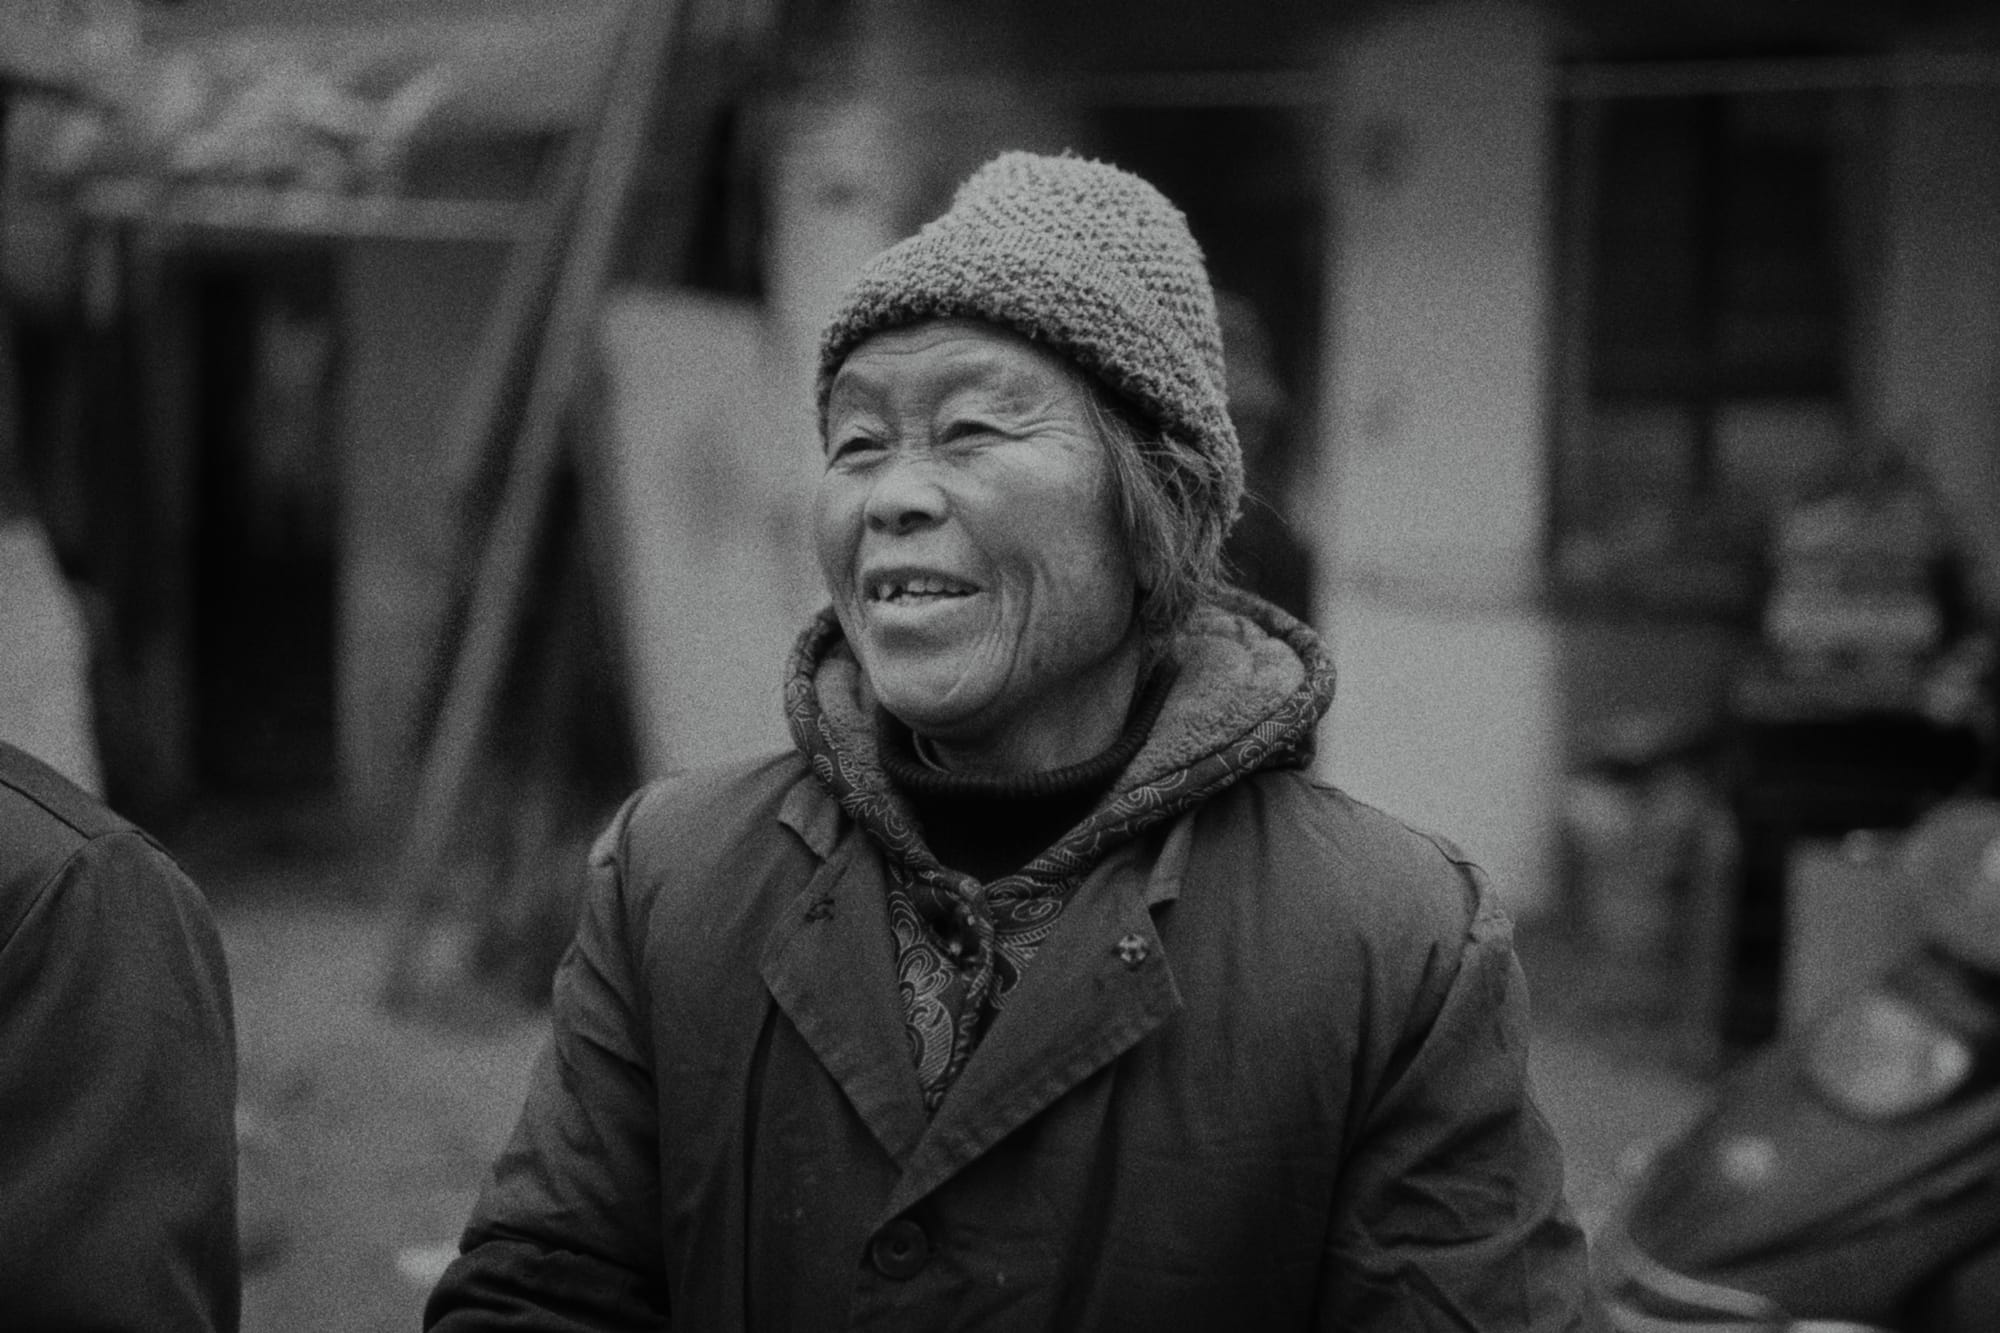
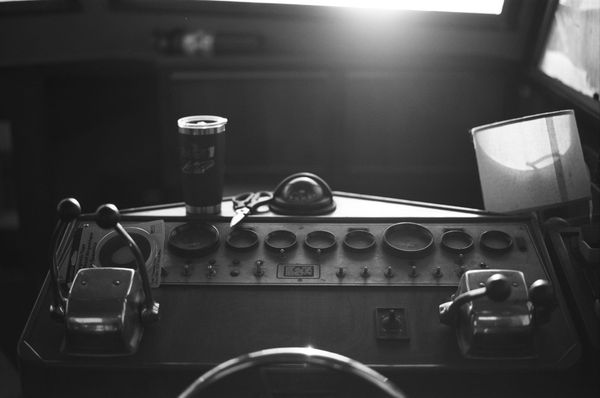
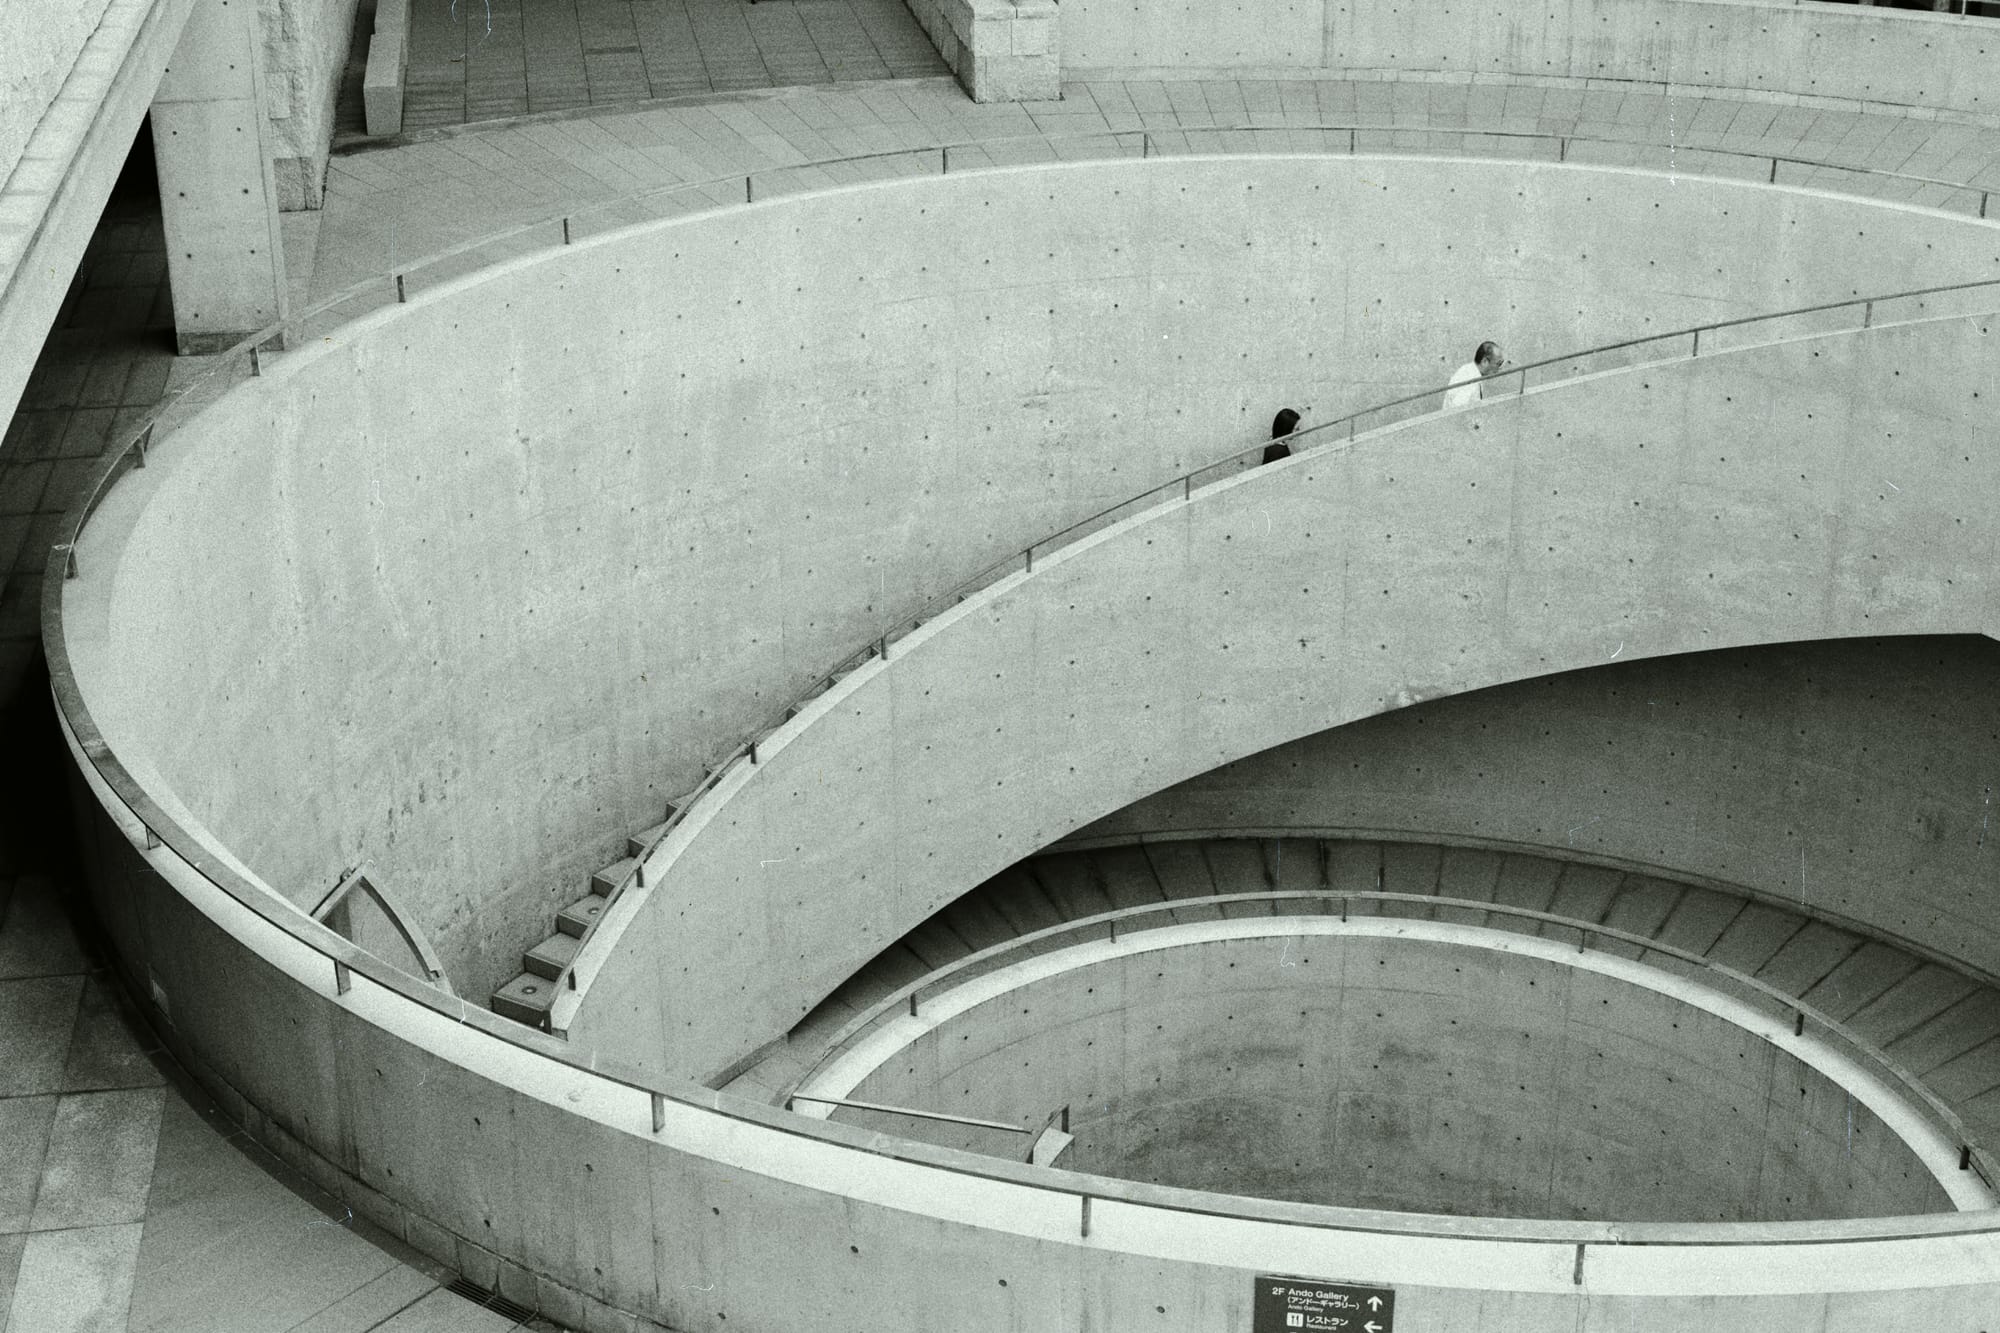
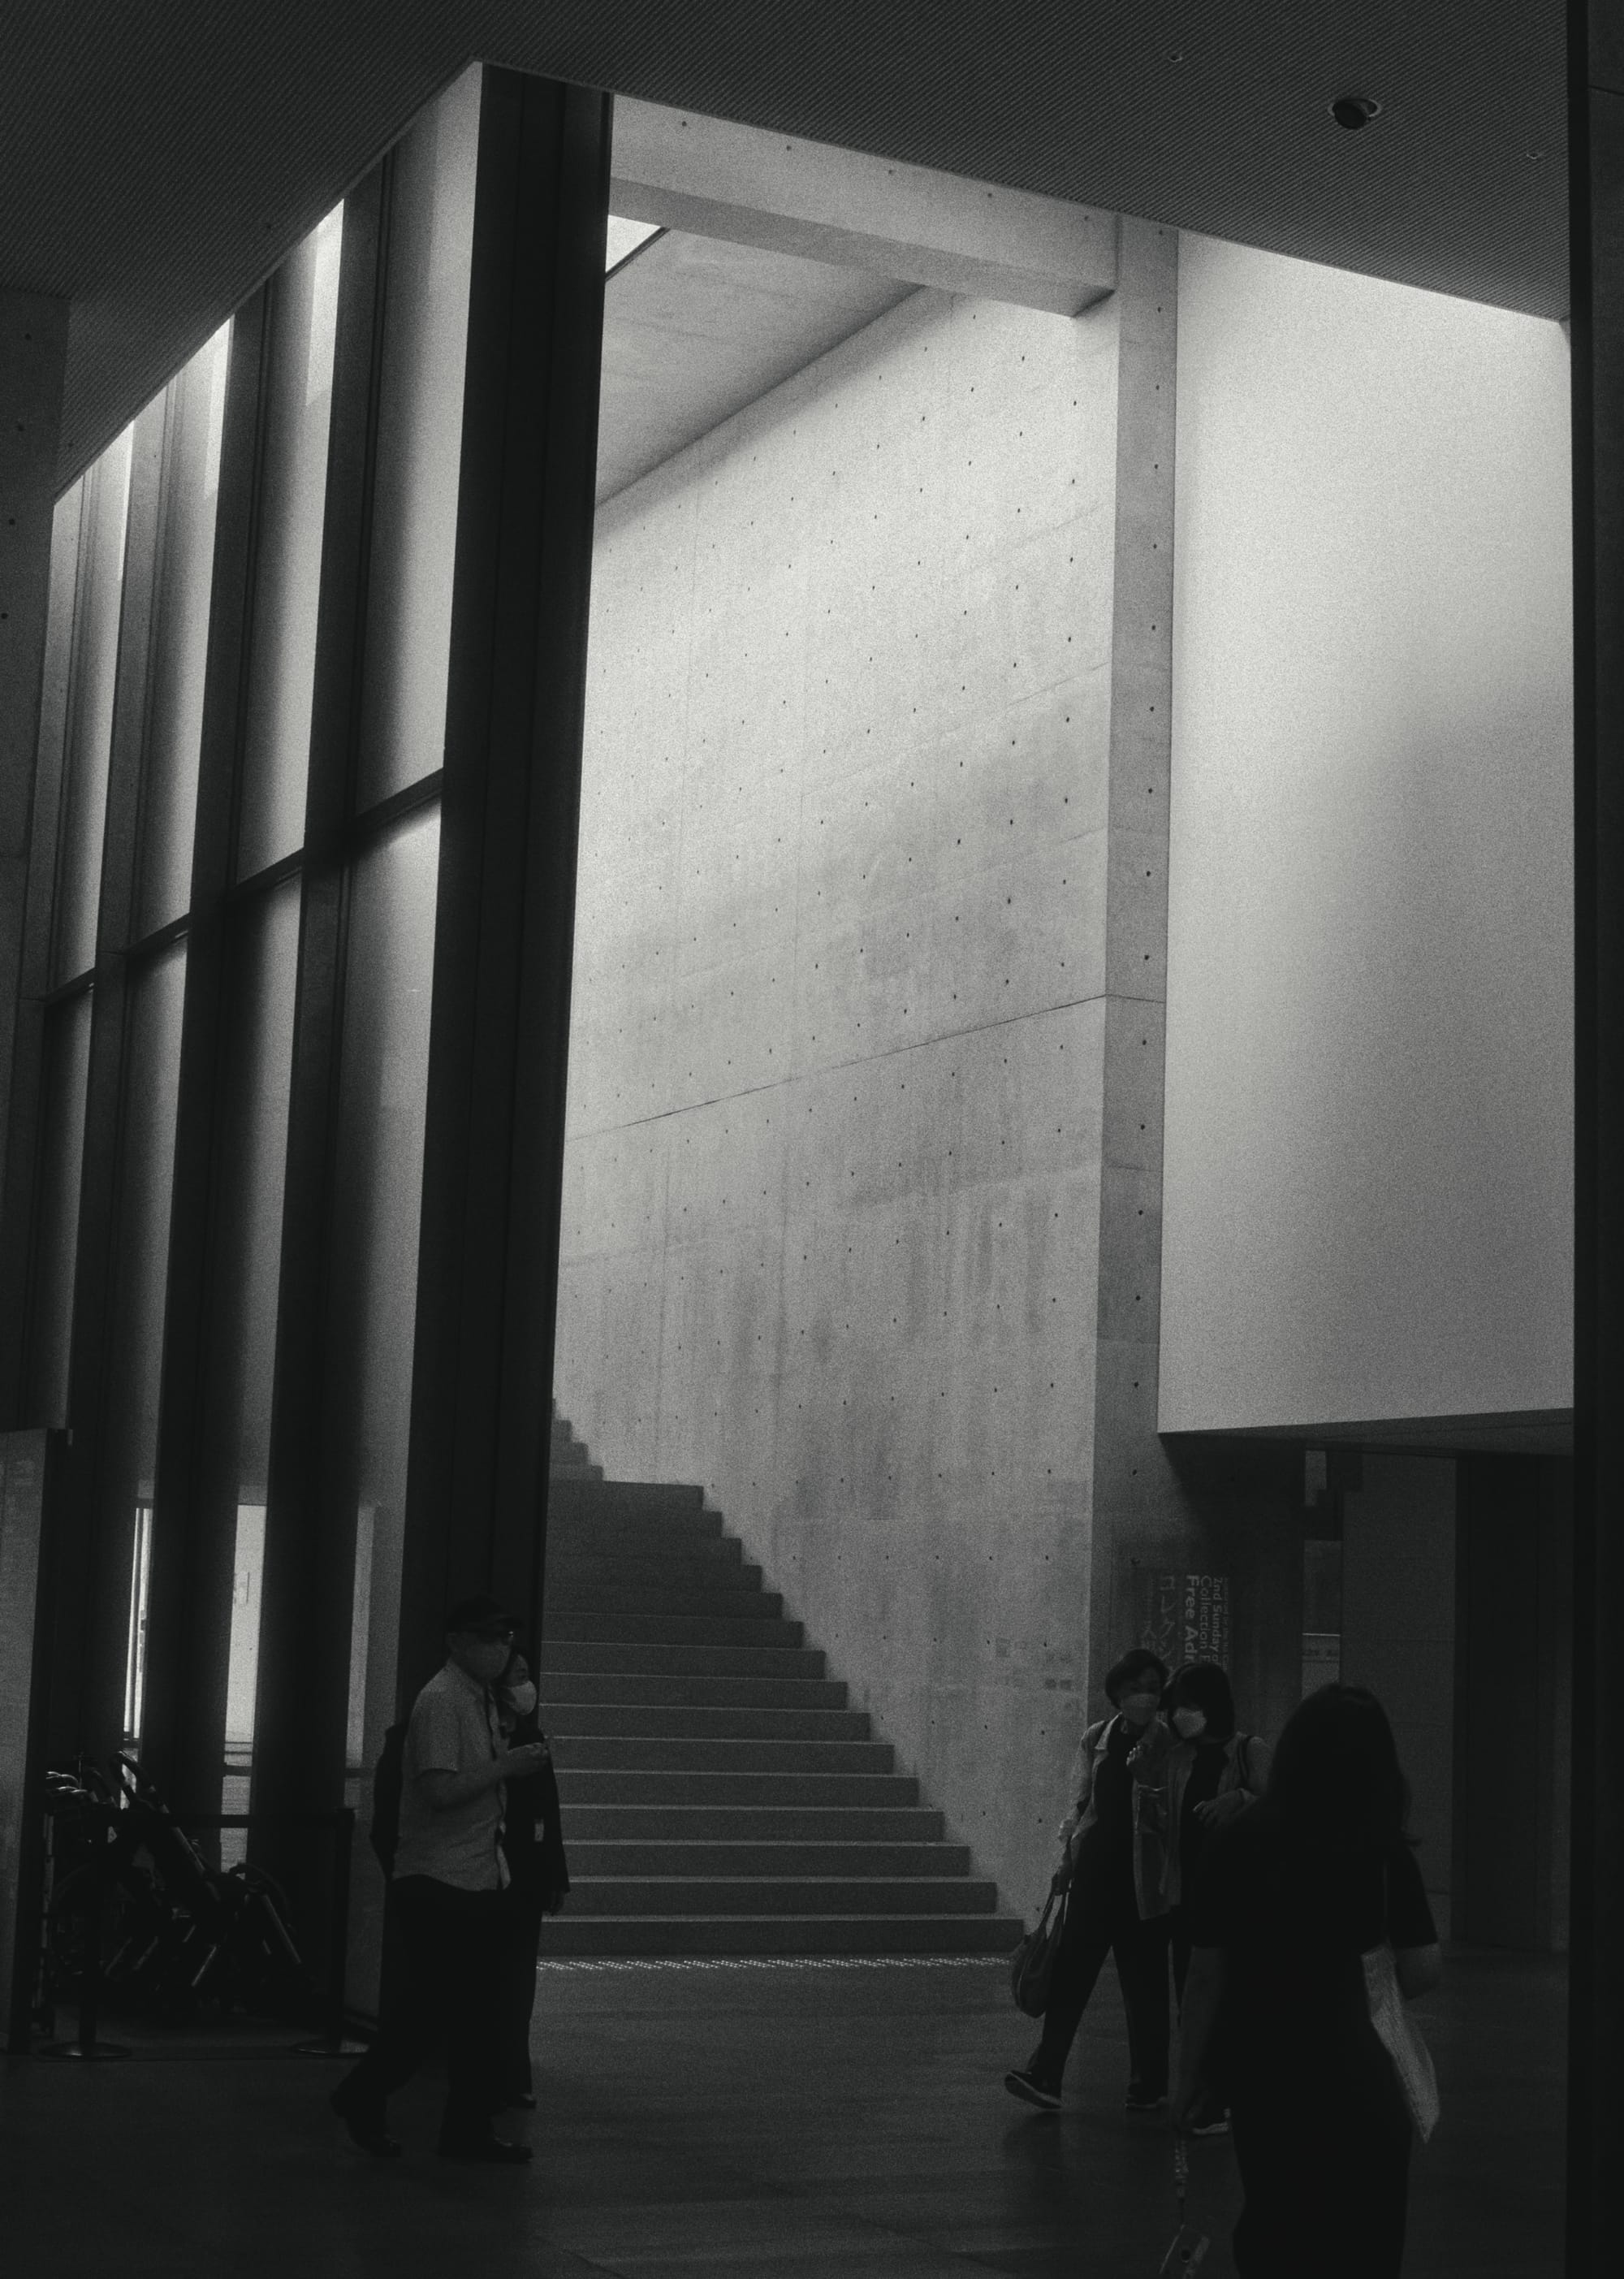
My favorite profiles however, are the black and white film stocks. Monochromatic films such as Kodak Eastman Double-X 5222 and Kodak Plus-X Pan 125 simply blew me away with their unique tonality.
Even if you can't be bothered to go through the steps to select a film profile, add grain, choose a paper type, set the amount of film damage, etc, the supplied presets from Dehancer are already quite lovely. These presets are convenient out of the box looks that are beautiful from the start without the need of additional tweaking, though you can if desired.

Through my own experience with Dehancer Film Photo Plug-in, I started to notice that lens choice is an important consideration when determining the overall success of making a digital image look like film. I found that my most successful images were shot with the Zeiss Milvus 50mm f/1.4 ZE lens which is very sharp but also has a cinematic character to it.
Whereas my Canon L series glass is near flawless, but at the cost of the overall rendering being too clinical to my eye. The Dehancer presets can aid in achieving a film like result, but with a clinical lens it may still seem a bit unconvincing.
Pros
- Compatible with a wide range of image editing applications
- 60+ film profiles, including many cinema film stocks
- Unique analog emulation tools including halation, bloom, paper types, film damage, and overscan
- A wide variety of realistic film grain options
- Genuinely fun to use and explore all of the features
- Lifetime license available
Cons
- Still some user experience bugs to be worked out
Verdict
Overall I'm very impressed. Dehancer Film Photo Plug-in takes film emulation to a whole other level that I didn't know was possible with film presets. It offers far more control than anything else I've ever tried and the amount of customization available is staggering. The film stock is only the beginning, as you can completely change the look of the film preset by adjusting any of the other numerous options.
This leads to a near endless number combinations to experiment with. I found by taking my time to experiment with all of the different variables lead to unexpected creativity in the final image. And it's the combined results which are convincing to the subconscious mind that you're really looking at film.
I think it's also fair to say that using Dehancer is a measured process, and in some ways it will force you to slow down as if you're working in a darkroom. It's a professional tool and there's a lot to grasp, but the process of learning quickly becomes enjoyable once you start experimenting.
With all of the different parameters accessible, Dehancer is simply more fun and exciting to use than any other film preset product I've used to date. Not only that, but my digital images look closer to film than ever before.
For me Dehancer Film Photo Plug-in is the new king of analog film presets and emulation. The seemingly endless combination of different looks that can be created with Dehancer is precisely what has made me excited to keep using it. This is how I'll be processing my images from now on when I want to give them an analog aesthetic. If you love the look of film, don't sleep on this one.